Flower 3d SVG Paper Laser Cutting
The allure of Flower 3d SVG Paper Laser Cutting lies in its ability to transform simple sheets of paper into complex, multi-layered works of art. For hobbyists and professionals alike, the prospect of creating intricate wall decor or unique greeting cards is exciting. However, the gap between a digital file and a finished physical product can be wide if certain technical nuances are overlooked. This guide aims to bridge that gap, offering practical advice on how to get the most out of your digital assets while avoiding common pitfalls that lead to frustration and wasted materials.
Understanding the Digital Asset
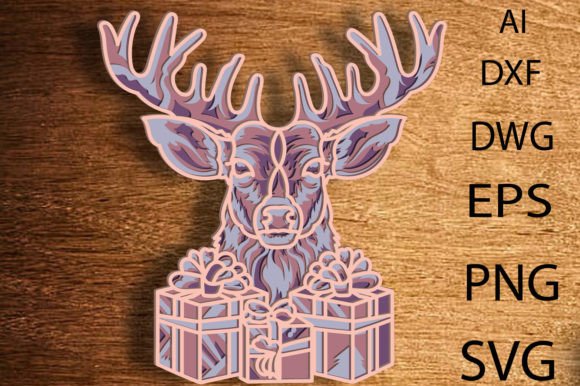
Before diving into the cutting process, it is crucial to understand exactly what you are purchasing. When you acquire a Flower SVG laser cutting file, you are not receiving a physical object. Instead, you are downloading a collection of vector and raster formats designed for precision cutting machines. The package typically includes an Ai file, EPS file, SVG file, PNG file, PDF file, DXF file, and DWG file. Each format serves a specific purpose:
- Vector Files (Ai, EPS, SVG, DXF, DWG): These are essential for laser cutters and vinyl plotters like Cricut or Silhouette. They contain mathematical paths that ensure clean, scalable cuts regardless of size.
- Raster Files (PNG, PDF): PNGs are useful for previewing the design or printing as templates, while PDFs often serve as a universal reference for assembly.
A common mistake beginners make is attempting to use low-resolution PNG files for cutting. Because raster images lack precise vector paths, they cannot be used directly with most cutting machines. Always ensure you are using the vector files provided in your download to achieve professional-grade results.
Preparation: The Foundation of Success
Once you have downloaded the Flower to your computer, the next step is extraction. Many users rush this part, leading to confusion about which file to open. After extracting the zip archive, take a moment to review the folder structure. You will likely find separate layers for each depth of the 3D effect.
Checklist before uploading:
- File Integrity: Open each vector file in your software (such as Adobe Illustrator, Inkscape, or the native app of your cutting machine) to ensure there are no broken paths or missing elements.
- Layer Organization: Ensure the layers are named logically. If the files come unorganized, you may need to manually sort them by size or complexity. The largest layer usually forms the base, while smaller details sit on top.
- Material Selection: Not all paper is created equal. For a 3D flower, cardstock between 180gsm and 250gsm is ideal. Thinner paper may tear under the weight of upper layers, while overly thick paper might prevent the layers from nesting tightly together.
Cutting and Assembly: Precision Matters
Uploading the Flower to your software is straightforward, but setting up the cut settings requires attention to detail. Different cutting machines require different blade depths and speeds. A general rule of thumb is to start with a test cut on scrap material to determine the optimal pressure and speed for your chosen paper type. Incorrect settings can result in incomplete cuts or burnt edges, ruining the aesthetic of your final piece.
When using the cutting machine to cut each layer, pay close attention to registration marks if provided. These marks help align multiple layers perfectly during assembly. Without proper alignment, the 3D effect can look skewed or misaligned, diminishing the visual impact of the design.
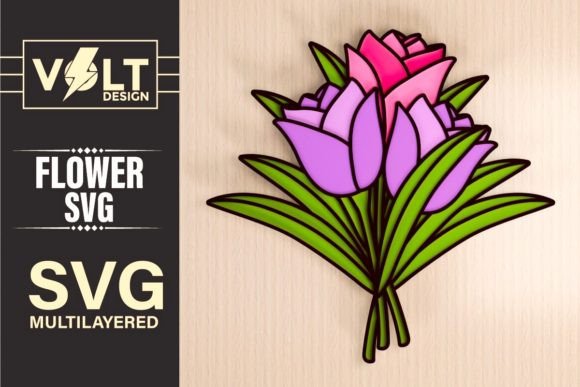
The Art of Stacking
The magic of Flower 3d SVG Paper Laser Cutting happens during assembly. You must stack the layers in the correct order as indicated by the serial numbers or color-coding in the design files. Skipping a layer or reversing the order can collapse the intended depth, turning a stunning 3D sculpture into a flat, confusing mess.
To avoid errors, consider the following tips:
- Use Adhesive Wisely: Apply glue only to the back of specific points rather than covering entire surfaces. Excess adhesive can seep through gaps, creating visible blobs that detract from the delicate nature of papercut art.
- Work in Sections: If the design is large, assemble it in sections. Glue the center first, then attach surrounding petals or leaves. This prevents warping and ensures even distribution of stress on the paper.
- Patience is Key: Rushing the assembly process often leads to misalignment. Take your time to ensure each layer sits flush against the one below it.
Applications and Creativity
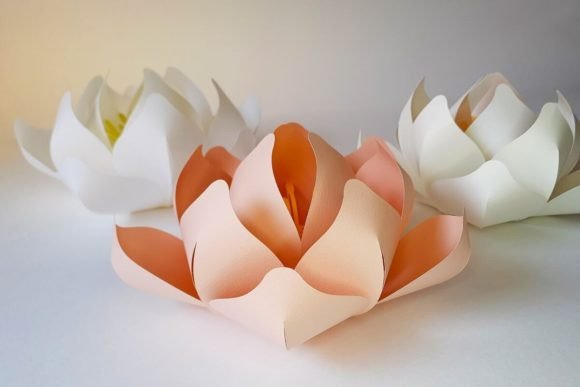
Once assembled, the possibilities for displaying your Flower are extensive. It is not just a craft project; it is a versatile decorative element. As wall art, it casts mesmerizing shadows when backlit, adding an elegant touch to any room. The interplay of light and shadow transforms the static image into a dynamic visual experience.
Beyond home decor, these designs are perfect for greeting cards. The intricate papercut patterns create a visual feast for recipients, making your messages more memorable. Similarly, in scrapbooking, these embellishments elevate standard photo layouts into three-dimensional storytelling pieces. The tactile quality of paper adds a personal, handmade feel that digital prints simply cannot replicate.
Commercial Considerations
If you are a small business owner or entrepreneur, you might be interested in selling physical projects made from this file. While many digital marketplaces allow for commercial use of the physical products created from their designs, it is vital to read the specific license agreement accompanying your download. Some licenses restrict mass production or require attribution. Understanding these terms protects your business from legal issues and ensures ethical practices within the creative community.
Furthermore, consider the efficiency of your workflow. If you plan to produce multiple units, investing in a high-quality laminator or using archival-safe adhesives can increase the durability and perceived value of your products. Customers appreciate items that last, and a well-crafted 3D paper flower can become a cherished keepsake.
Final Thoughts
Mastering Flower 3d SVG Paper Laser Cutting requires a blend of technical precision and artistic patience. By understanding the file formats, preparing your materials correctly, and adhering to careful assembly techniques, you can create stunning results that rival professional studio work. Avoid the temptation to skip steps or rush the process. Instead, embrace the methodical nature of papercraft, and you will find that the reward lies not just in the final product, but in the mindful creation process itself.
Remember, every mistake is a learning opportunity. If a cut is imperfect, experiment with different blade types or paper grades. If the assembly feels unstable, adjust your adhesive strategy. With practice, you will develop a rhythm that makes each project smoother than the last. Whether for personal enjoyment or commercial gain, the world of 3D papercut art offers endless opportunities for creativity and expression.