Unveiling the Artistry of Halloween Candies 3D Layered Paper Cut
The intersection of seasonal celebration and digital craftsmanship has given rise to a new wave of creative expression, where traditional papercraft meets modern vector design. Among the most captivating examples of this fusion is the Halloween Candies 3D Layered Paper Cut. This intricate design transforms simple sheets of cardstock into a multi-dimensional tableau that captures the whimsical yet eerie spirit of All Hallows' Eve. By leveraging precision cutting technology and strategic layering, creators can produce decorations that possess depth, shadow, and narrative power, elevating standard holiday decor into a focal point of artistic wonder.
This article explores the technical specifications, creative applications, and practical considerations involved in bringing this specific papercut design to life. Whether you are a seasoned crafter utilizing a Cricut machine or an educator looking for engaging STEM activities, understanding the nuances of layered paper art is essential for achieving professional results.
The Anatomy of a Multi-Layered Design
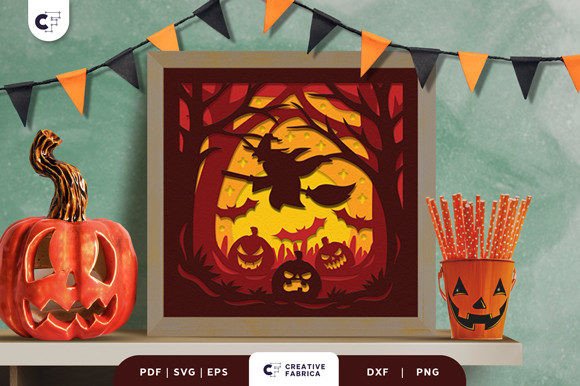
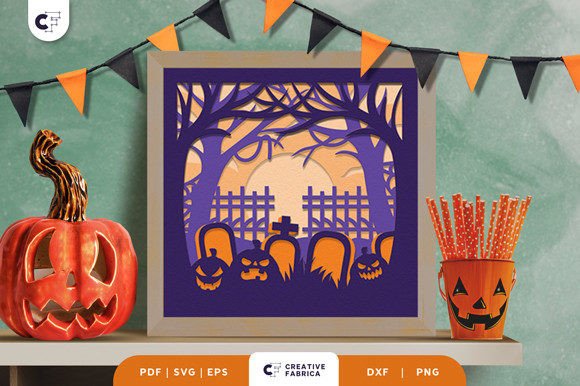
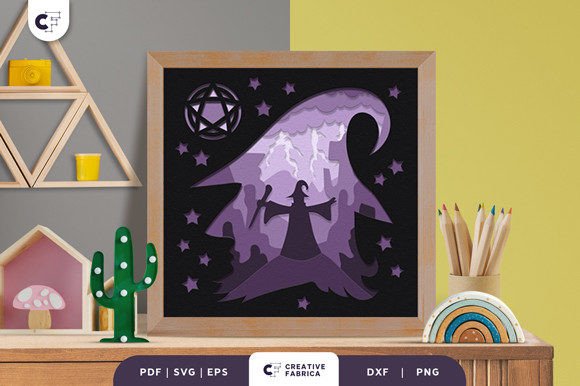
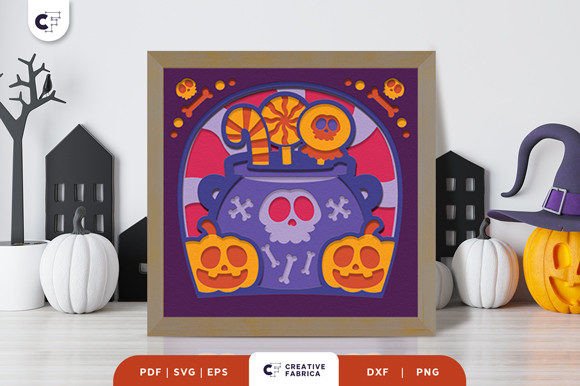
To appreciate the final product, one must first understand the structural complexity inherent in designs like the Cauldron of Candies. Unlike flat silhouettes, 3D layered paper cuts rely on the principle of parallax and shadow play. The Halloween Candies 3D Layered Paper Cut consists of seven distinct layers. Each layer serves a specific purpose in building the visual hierarchy of the image, from the background atmosphere to the foreground details.
The process begins with the digital file. Creators receive the design in multiple formats, ensuring compatibility with various software ecosystems. The inclusion of SVG, EPS, and DXF files allows for seamless integration with cutting machines such as Cricut and Silhouette. Additionally, PDF and PNG formats provide options for printing and manual cutting or laser engraving. This versatility ensures that users with different hardware setups can access the design without needing specialized conversion tools.
- SVG (Scalable Vector Graphics): Ideal for direct input into cutting machine software, allowing for precise path definition.
- DXF: A common format for CAD and vector design programs, often used in industrial cutting contexts.
- EPS: Encapsulated PostScript, useful for high-quality printing and graphic design workflows.
- PDF & PNG: Essential for previewing the layout and for those who prefer manual assembly methods.
Material Selection and Technical Specifications
The success of any layered paper project hinges largely on material choice. For the Halloween Candies 3D Layered Paper Cut, the recommended medium is Encore Cardstock, specifically an 80 lb cover weight, which equates to approximately 216 gsm. This weight is critical because it offers a balance between rigidity and flexibility. If the paper is too thin, the layers may sag under their own weight or fail to hold the adhesive bond securely. Conversely, paper that is too thick can make the cutting process difficult and result in bulky, less refined edges.
The physical dimensions of the finished piece are 20.32 by 20.32 centimeters (approximately 8x8 inches). This square format is versatile, fitting well within standard shadow boxes, frames, or wall mounts. The compact size makes it accessible for beginners while still providing enough surface area for the seven layers to create significant visual impact.
When sourcing materials, it is important to consider colorfastness and texture. The interplay of light and shadow is what gives the design its "hauntingly beautiful" quality. Using high-quality, matte-finish cardstock enhances the absorption of light, reducing glare and allowing the shadows between layers to appear deeper and more dramatic. While the images provided in product previews serve as guides, creators should note that lighting conditions and specific paper batches can cause slight variations in final color appearance.
Assembly Workflow: From Digital File to Physical Object
Crafting the Halloween Candies 3D Layered Paper Cut requires a methodical approach to ensure alignment and stability. The workflow typically involves three main phases: preparation, cutting, and assembly.
Phase 1: Preparation and Cutting
Once the digital files are imported into your cutting software, arrange the layers logically. It is best practice to cut the largest background layers first and work inward toward the smallest, most detailed foreground elements. When using a Cricut or similar machine, adjust the blade depth and pressure settings according to the manufacturer’s guidelines for 80 lb cardstock. A dull blade can tear the paper, compromising the clean lines necessary for a professional look.
Phase 2: Peeling and Organizing
After cutting, carefully remove the excess material (weeding) from each layer. Label each piece immediately, either by writing lightly on the back or organizing them in numbered envelopes. With seven layers, keeping track of the stacking order is crucial. Misalignment at this stage will be magnified once the pieces are glued together, leading to a disjointed final image.
Phase 3: Gluing and Layering
The assembly requires PVA glue, also known as white school glue or wood glue, due to its strong bonding properties and ability to dry clear. Apply small dots or thin lines of glue to the back of each layer, focusing on the outer edges and key structural points to avoid warping. Start with the bottom-most layer and stack upwards. Allow sufficient drying time between layers to prevent shifting. For added dimension, some crafters use foam tape between select layers to create a "pop-out" effect, though the standard instruction set relies on direct adhesion for a cohesive shadow box aesthetic.
Practical Applications and Use Cases
The utility of the Halloween Candies 3D Layered Paper Cut extends beyond mere decoration. Its unique structure lends itself to various applications across different sectors.
Home Decor and Event Styling
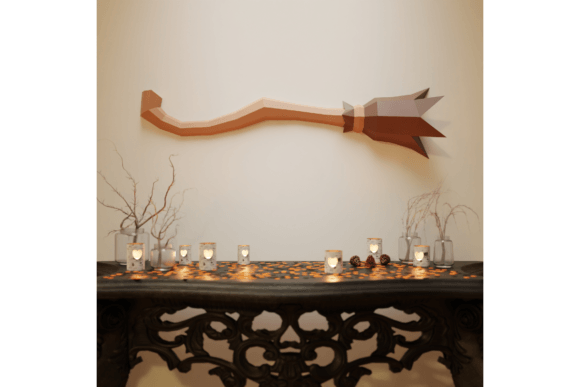
In residential settings, this papercut serves as a striking centerpiece for Halloween parties. Placed inside a shadow box with LED backlighting, the candies and cauldron motifs cast intricate shadows on surrounding walls, creating an immersive atmosphere. It is equally effective as a mantel piece or a gift tag for homemade treats, adding a personal touch that store-bought items lack.
Educational Tools
For educators, this project is an excellent vehicle for teaching geometry, spatial reasoning, and fine motor skills. Students can analyze how two-dimensional shapes combine to create the illusion of three-dimensionality. The process of layering teaches sequencing and attention to detail, making it suitable for classroom projects during October-themed units.
Commercial and Small Business Ventures
Small business owners and Etsy sellers can utilize these designs to create unique home decor items. By purchasing the digital files, entrepreneurs can produce limited-edition shadow boxes without holding inventory of pre-made goods. This model supports the maker economy, allowing for customization based on customer preferences regarding frame style or lighting.
Considerations for Success
While the potential rewards are high, there are several considerations to keep in mind to ensure a successful outcome.
Lighting Sources: As noted in the product description, the final color may vary due to lighting. Natural daylight will reveal the true hue of the Encore Cardstock, while warm indoor lighting may shift the tones toward orange or yellow. Test your setup under the lighting conditions where the piece will be displayed before finalizing the installation.
Adhesive Management: Excessive glue can seep through porous areas of the paper, causing discoloration or stiffness. Use sparingly and wipe away any excess immediately with a damp cloth. For intricate areas, a glue pen may offer better control than a bottle.
Digital File Integrity: Ensure that the SVG or DXF files are not distorted when scaling. Since the design is optimized for a 20.32x20.32 cm canvas, resizing without maintaining aspect ratios can lead to misaligned layers during cutting.
Conclusion
The Halloween Candies 3D Layered Paper Cut represents more than just a seasonal decoration; it is a testament to the enduring appeal of hands-on creation in a digital age. By combining precise vector engineering with tactile materials, this design invites creators to engage deeply with the crafting process. Whether used to enhance a spooky gathering, educate students about spatial design, or fuel a small business venture, the project offers a rewarding blend of creativity and technical skill. With the right tools—such as a Cricut machine, quality cardstock, and patience—the result is a mesmerizing tableau that truly casts a spell on the senses.